How to Add AVAX to Metamask?
With the features of super fast speed( able to permanently confirm transactions in under 1 second) and flexibility(EVM-compatible), Avalanche attracts many developers and investors. For beginners, it is quite a big challenge to add AVAX to the Metamask wallet since you need to input a lot of data to set up. This guide will show you a one-click way to add AVAX to Metamask and you don't need to set up any data.
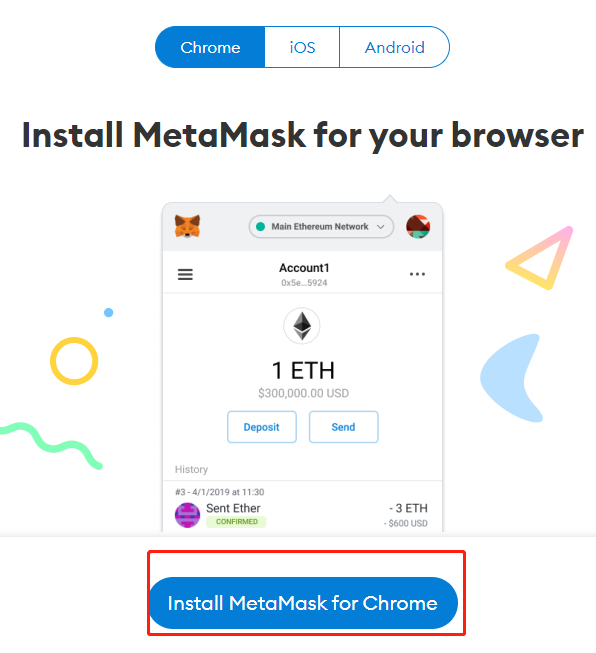
Step 1:Install MetaMask
You can click here to download it. If you are using Google Chrome, click install MetaMask for Chrome. Then you can see an extension on your Google Chrome. To know more about the usage of MetaMask, plesase check: How to Use MetaMask: A Beginner's Guide. (If you have installed MetaMask already, skip this process. )
Step 2: Enter "Chainlist" on CoinCarp.com
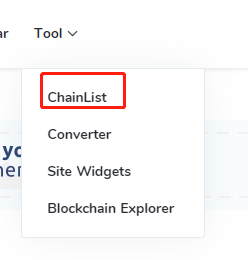
Visit CoinCarp, Click on "Tools"--"ChainList", or just click here to enter directly. Find the "Avalanche C-Chain", click "Connect wallet".
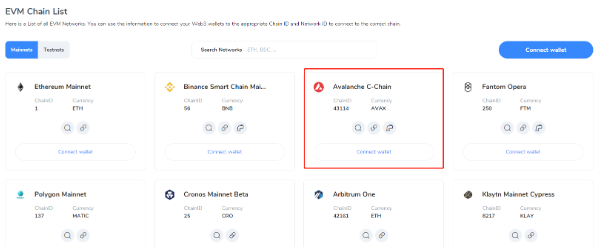
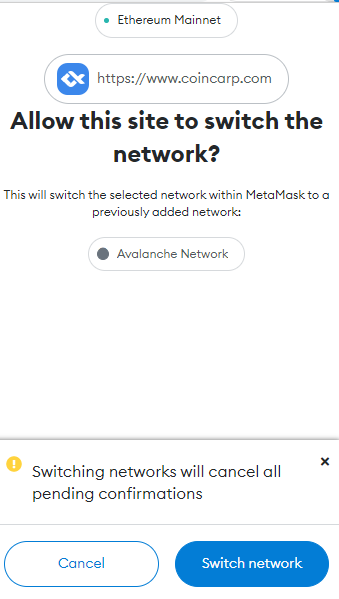
Step 3: Click "Switch network" on MetaMask Wallet.
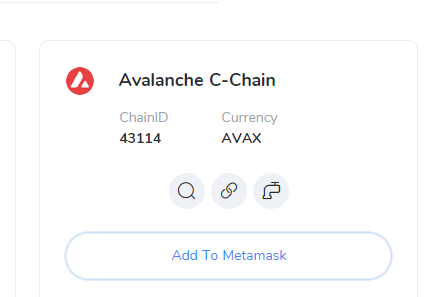
When click "Connect wallet", MetaMask will pop up a window, click to approve the connection. Then click "Add to Metamsk ", after that, click "Switch network" on MetaMask pop up window. Congratulations! AVAX is added to your MetaMask wallet successfully.
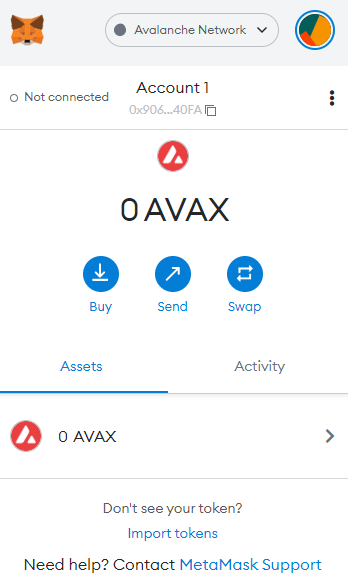
Step 4: (Optional) Transfer AVAX Tokens to MetaMask Wallet.
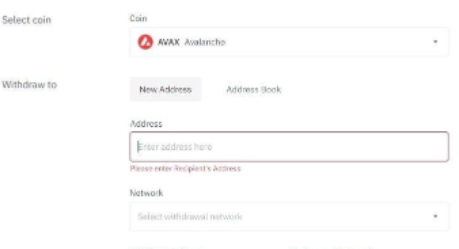
Now you can purchase some AVAX Tokens from exchanges and tranfer them to MetaMask Wallet. Visit your exchange wallet and click the "Withdraw Crypto" option. Copy the wallet address from MetaMask wallet and then paste it into the "Address" bar on exchange wallet . I Select the network as AVAXC. When the AVAX tokens have been transferred successfully, you will can check the tokens in your MetaMask wallet.
Comments
Post a Comment